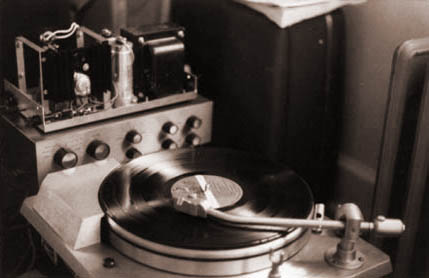

My SWTPC Universal Tiger Poweramp, Early Tube Type Dynaco Preamp and 1962 Empire Turntable - 1973ish
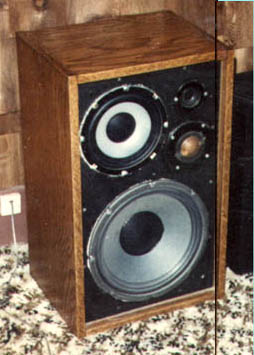
1976ish. This one was inspired by my brothers McIntosh ML-1 (A very good sounding speaker, even by today's standards).
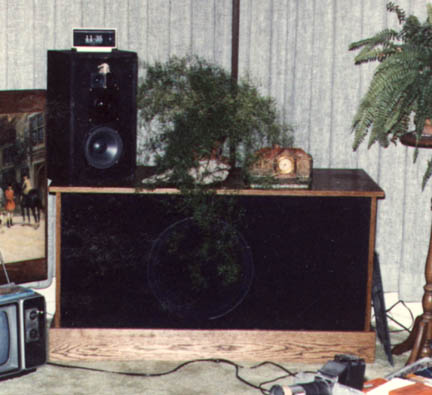
15 inch JBL sub-woof with satalite - 1982
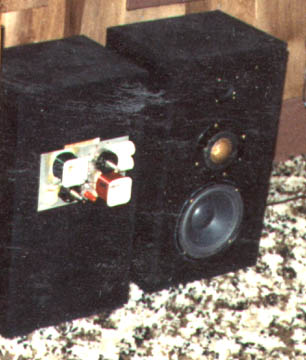
These had the polypropylene six inch Peerless (sealed cabinet), with the 1-1/2 inch Long (brand) Dome, and a Bozak type arrangement of two Peerless 2 inch papercone tweeters, which are very similar to the ones in my brothers McIntosh ML-1's. The crossovers are built on heavy guage circuit board material with banana-plugs such that they can plug right on to the banana-jacks mounted in the speaker cabinet. The crossover network could be unplugged if you wanted to triamp it (use active crossover ahead of the poweramps).
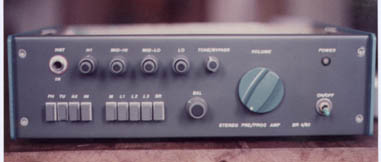
Above is a preamp I designed and built in 1983, while working in a Video Engineering group at Tektronix. It uses all 5534 op-amps carefully phase equalized for stability. It sounds very good. Even Matt Kamna likes the way it sounds. It also features an excellent RIAA phono preamp I designed using an LM394 differential front-end device driving a diff-amp second stage, which uses a norton current mirror to provide the complimentary drive for the push-pull output stage (the separate board in the rear corner). There's four inputs, stereo reverse, mono, and three external processor ("tape monitor") loops. Perhaps the best feature of this preamp is the four section Baxandhal tone controls that I developed myself. They allow you to dial in just the amount of reverse Fletcher-Munson "Loudness Comp" that works best in a given acoustic situation, for each channel independantly. There's Low, Low-Mid, High-Mid and High. There's also a bypass switch for the tone control circuit in case you're a nerd.

If I ever build a preamp again, I will definitely lay out a circuit board that will have all connectors and front panel pots and etc. mounted on it, with very few exceptions. The wiring took a LOT of time.
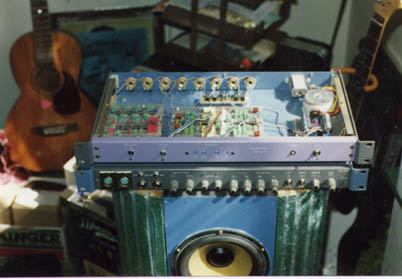
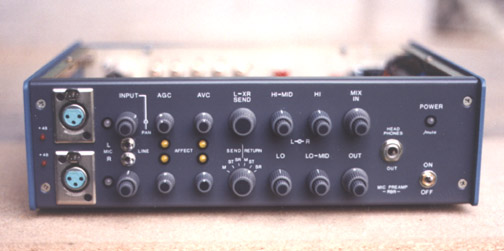
Under that is a stereo mixing console I designed and built for recording or playing of musical instruments.
Under that is the finished "double-tube" speaker system (more below). Some people will recognize the 7 inch ScanSpeak driver with the kevlar cone.
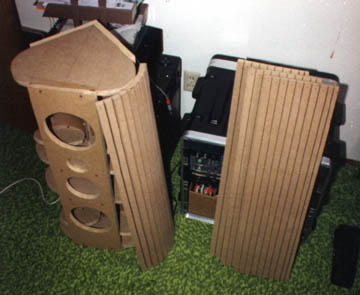
The diaphrams of these two 7 inch Kevlar Scanspeaks would be at the edge of a somewhat circular internal cavity (two cavities actually- one on each side), which according to the Audio Cyclopedia, is a less acoustically reactive enclosure shape than any variation of a rectangular shape cabinet. The curved walls on the front were made out of MDF with slots that go 90% of the way thru, which were then filled with RTV silicone rubber glue and lead buckshot, to add mass and thereby dampening to these walls. Very labor intensive. On the inside, the curved walls were made of 'Sonotubes', which you get at the mason supply house. Sonotubes are used as moulds for pouring concrete by construction workers that are making pilons for freeway overpasses or whatever. The end to end resonance is broken up both by the seal half way down the cabinet, and the leaky but somewhat effective angled disks of MDF. The insides surfaces of all of my cabinets are covered with glued in, high quality felt-like under-carpet padding. When I can find some decent looking felt for the outside of the front, I will cover that too. I glue it on with a glue that never dries to the point of being brittle. Liquid nails or silicone rubber cement has been working well for me.
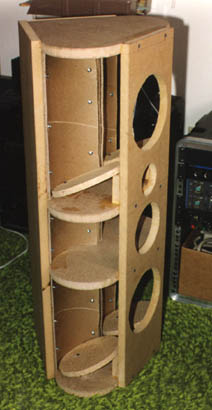
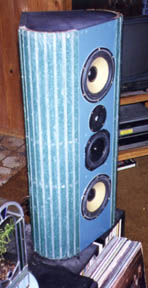
Way too much work to build. The walls may not be rigid enough, and the tweeters were too low relative to a listeners ear.
Speakers seem to sound way better when the tweeter is at least 36 inches off the floor.
A "mistake" is an opportunity to learn.

A more conventional approach. Note separate woofer cabinet on left. Again, the tweeter is too low relative to the listeners ear. The tweeter should always be at least three feet off the ground no matter what else that means.

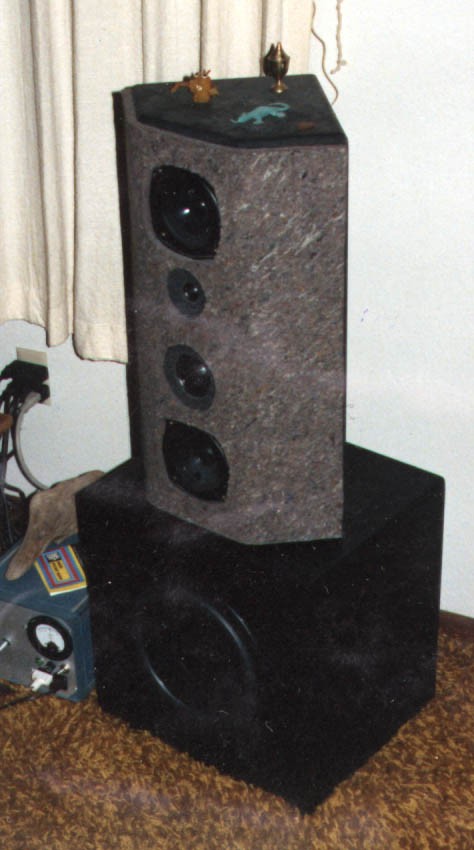
These really needed to be higher up off the floor to show their potential. Very good sounding. Notice the 3/8 inch thick wool felt on the front and front-sides of the cabinet. Diffraction is comparatively very low.
I used Dynaudio 3/4 inch and 2 inch domes, with KEF five inch drivers. The woofer is a Dynaudio 11 inch in a sealed cabinet that is electronically forced to be flat down to 25 HZ at the listener position (with active EQ). See active crossover board below.
4 Pole 4 Way active crossover circuit for satalite/subwoofer arrangement.
EQ in the woofer section makes the bass relatively flat down to 25 HZ at the listener position.
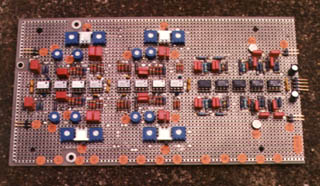
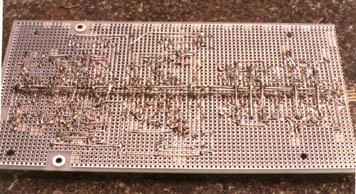
Bottom of hand soldered active crossover board
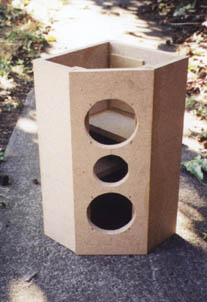

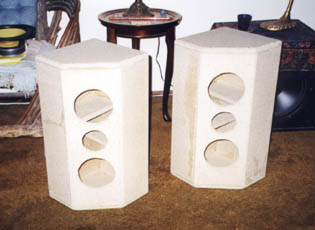
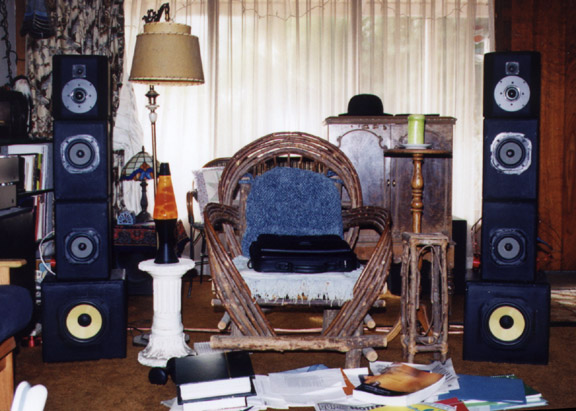
I found that it sounds much better to have the tweeters on top, rather than having them in between the two five inch drivers. Not so much because the D'Appolito arrangement isn't good, but because the tweeters need to be higher up off the floor (at least 36 inches IMO) to sound their best.
I think I need a new Lava Lamp...

This is a four section Baxandahl tone control circuit that I developed myself. It allows one to compensate for the usual problems, and to create a reverse Fletcher-Munson (Loudness Compensation) curve. This is the right way to do "tone controls". Same circuit as in my 1983 preamp above.
![]()