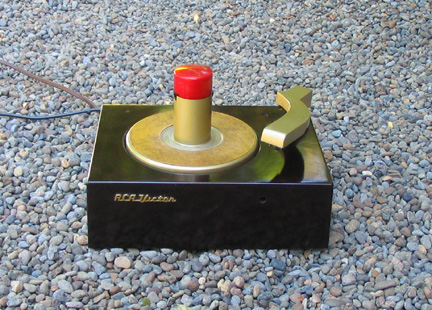

I bought this machine years ago for $10 at a second hand shop. I thought it was obnoxiously cute. Love at first sight. I recently decided to refurbish it. I researched it on the web and found a handful of websites that had info on it. I copied and pasted any info that I thought would be helpful as I continued. Click here to see that.
I knew I'd need to change the motor mounts, idler wheel and cartridge, and I'd need to clean and re-lube much of the mechanism, and rewire everything. I didn't know that I was missing a critically important "separator knife" part of the spindle mechanism, and a small hydrolic air cylinder that slows down the dropping of the tonearm, and the reject botton. I was very lucky to find the 45honcho.com on the web, otherwise known as Travis Epling in Caldwell, Ohio, who was kind enough to sell me the mechanical parts I needed. He may have been the only person on the planet who would have these things. I found a new ceramic cartridge at www.thevoiceofmusic.com that came with instructions for how to mount it (epoxy it) into part of the old cartride shell (more on that below).
I've done electronic projects all my life, and I have to say, this one was challenging. This is apparently the very first model of 45 record player ever made. I think it's the cutest, and therefore wanted to give it a go. It now sits on a shelf in my living room next to a 1935 Belmont cathedral radio that I also refurbished. This version of the 45 record player has no built in amplifier and speaker, so depends on there being a radio or equivelent to plug it into. I added an RCA phono input jack to the back of my cathedral radio while refurbishing it, just for this.
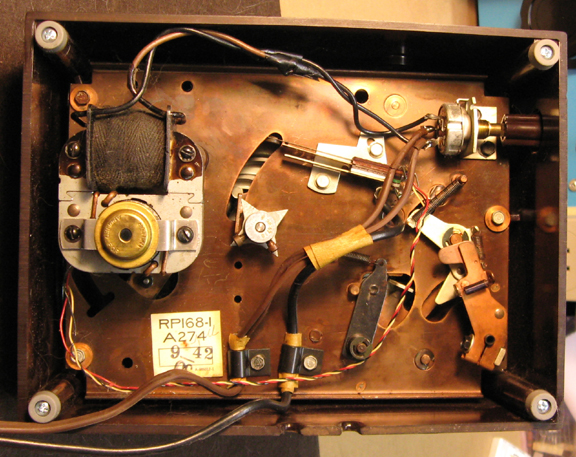
All wiring needed to be replaced.
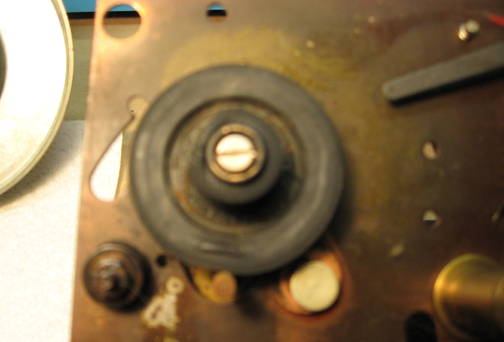
The idler wheel was rock hard and with a very bad flat spot where the motor shaft, and turntable rim had been held against it for up toward 50 years. Sorry about the blurry picture.
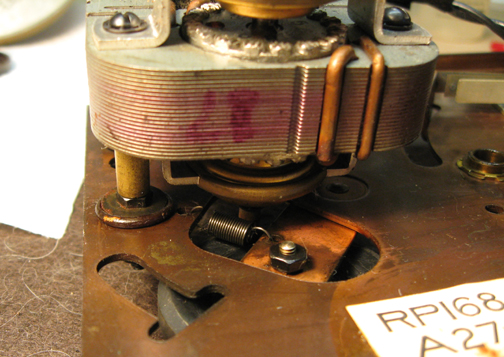
Same thing with the motor mounts. Rock hard and falling apart.

The original crystal cartridge was only expected to last for a half dozen years. The recommended replacement is the ceramic one I used (more below). Others have adapted a magnetic stereo cartridge into it, with a separate ground return to minimize hum. A magnetic cartridge sounds better than a ceramic, but has a much lower output level, so is much more likely to have a hum problem.
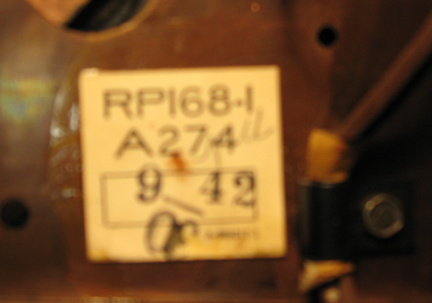
Sorry about the blurred photos. The macro mode wasn't working that day. Here's the tag that says week 42 of 1949. The RP168 mechanism is said to be the fastest changer mechanism in the world.
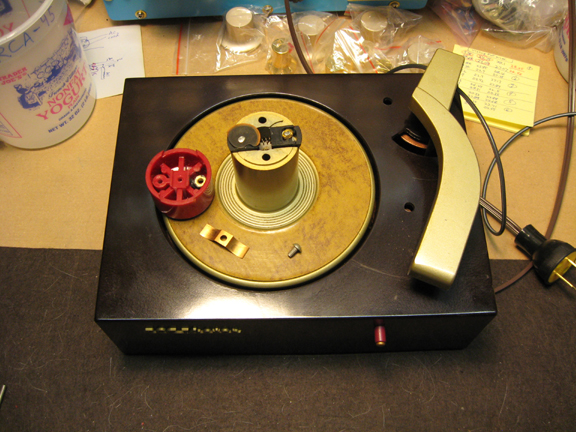
This is me discovering that I'm missing a "seperator knife" in the spindle mechanism. I also had to epoxy a nut into the red top part where someone had stripped out and broken the plastic part that received the screw previously. That took some serious ingenuity. Before I was able to get the real reject botton, I created one out of 2 screws, a plastic standoff and a flat washer (above). It worked fine but looked odd.
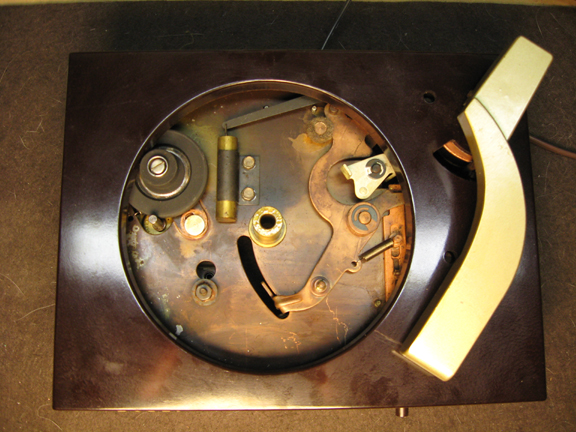
Above you can see the real reject botton and the hydrolic air cylinder next to the idler wheel, which slows down the dropping of the tone arm. Without it, the tonearm would actually bounce badly, when the tone arm would drop to the record. This is a must have.
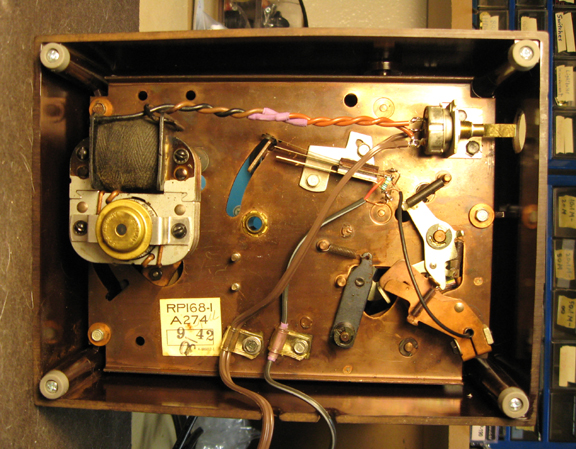
Here it is with the new wiring. The cartridge is actually stereo, but I wired it mono, so I wouldn't have to modify the mute mechanism, which is SPST and therefore not able to mute 2 separate channels. Twisting the AC wires going to the motor (fairly tightly) will reduce the amount hum producing magnetic field that they will radiate (the radiation from one wire is largely cancelled out by the radiation from the other wire).
There is a spring at the back of the tonearm, that very crudely reduces the tracking force. Remove it for good. The new cartridge weighs so much less than the original crystal cartridge, that I expect to have to actually add weight to the cartridge, to get to the proper tracking force (3-5 grams). I'll use silicone rubber glue and random pieces of metal, to get the tracking force right. I still need to get my hands on a good gram scale for this part. The spring would be the worst possible way to do this, since it prevents the arm from moving horizontally or vertically without a variation of spring tension.
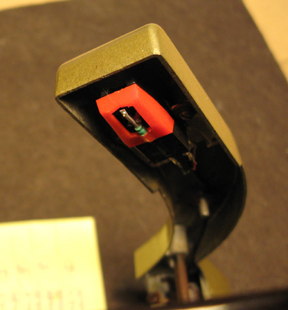
I chose to use the Pfanstiehl P-190 stereo ceramic cartridge, which accepts a 793-D7M replacement stylus. I bought it from www.thevoiceofmusic.com as a "45 Player Cartridge Replacement Kit - K45-A". I forget the price, somewhere around $12 I think. The "kit" came with instructions for how to drill out the rivets in the original crystal cartride, clean out the waxy innerds, and glue the new cartridge to the old half-shell. I used J-B Industro Weld epoxy (very good stuff) and clamped it very carefully until dry (24 hours). After cleaning the "half-shell" real good, I scrubbed it with rubbing alcohol and then roughened up its surface with sandpaper where the epoxy would be trying to grip it.
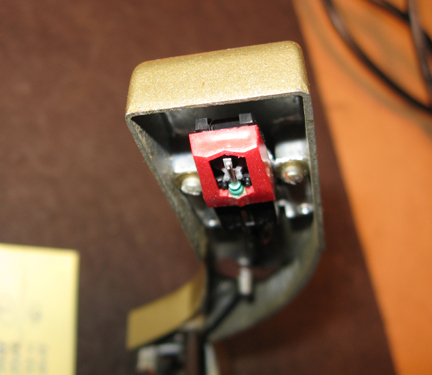
It should be noted that a ceramic cartridge is designed to drive a 1 meg ohm load. If you drive less than that, it apparently loses output level, especially the high frequencies. With the 1 megohm load, it supposedly approximates an RIAA frequency response without any additional electronic EQ, which would be required if a magnetic cartridge is used. I haven't verified this, but that's what my research came up with. An AUX input on virtually all stereos in recent times has an input impedance of 20K - 50K, and would therefore give a rather attenuated and rolled off sound (very low on treble). Most antique radios have a 1 meg ohm volume control feeding into the audio output tube grid. I tapped in there for my input. You want to actually put in an input selector switch there (radio vs input jack), feeding the top of the volume control, otherwise the source impedance of the tuner will swamp out the 1 Mohm volume control feeding the audio output tube, and load the cartridge, causing the big drop in performance.
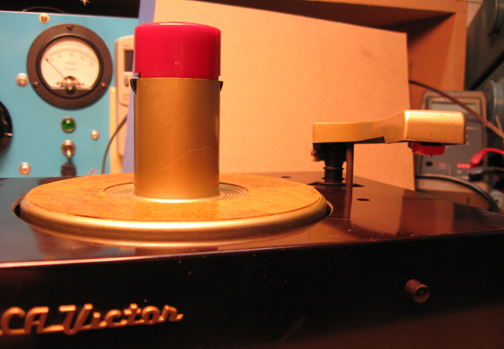
The cartridge may protrude out of the tonearm cavity slightly more than the original, but not much, and there is an adjustment for tonearm height if that's a problem.
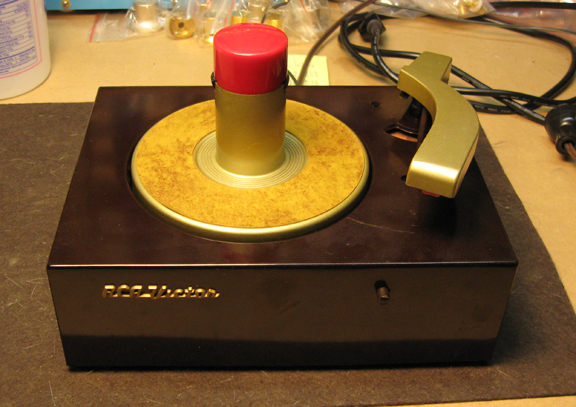
All done and ready to go back into service.

The original service manual for this machine can be viewed here.
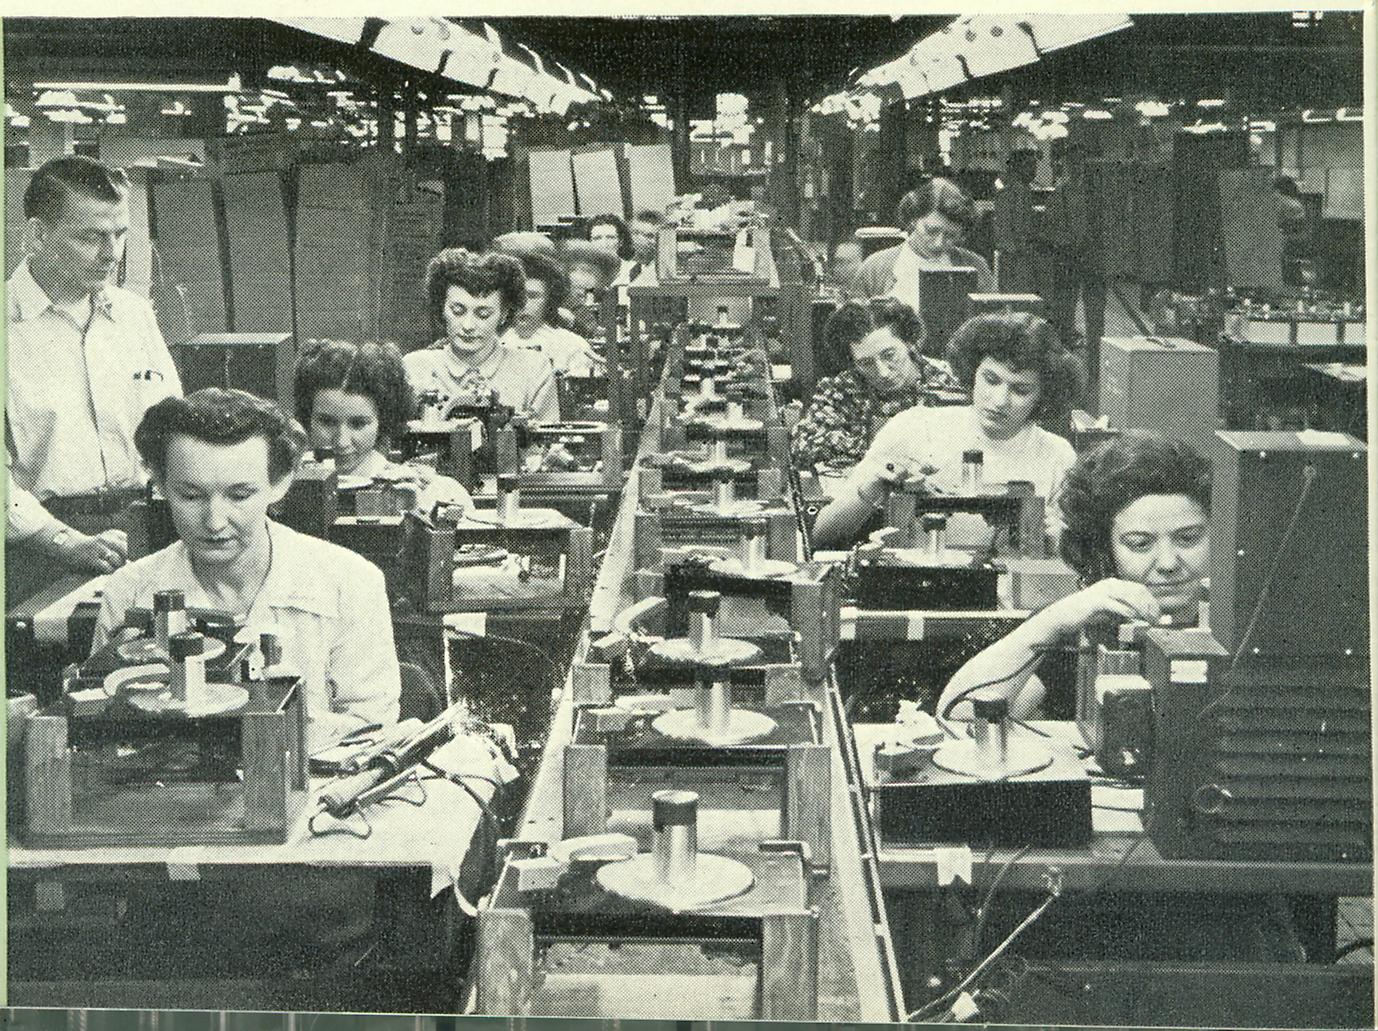
Down at the Factory...
![]()